So a couple of days ago I came across this video on YouTube: Join the Great Attention Economy Escape - YouTube. The guy in it talked about the attention economy, how everything is designed these days to hijack your attention, and how our literal existence is being stolen away from us in the form of attention.
There was a lot of talk in it about digital minimalism, decluttering, and detoxing, but the thing that caught my attention (pun intended) was the idea of homelabbing.
Now, I’m new to this whole concept of homelabbing, so naturally I fell into the rabbit hole.
The idea behind a homelab is to create a personal, small-scale version of a data center using consumer hardware within your home. People use it for a bunch of things, like running their own VPNs, file storage, and cloud services.
This kind of ties into the whole indieweb/smolweb culture where the goal is to have ownership and control of your internet presence. You can use your homelab server to self-host your website or entire services.
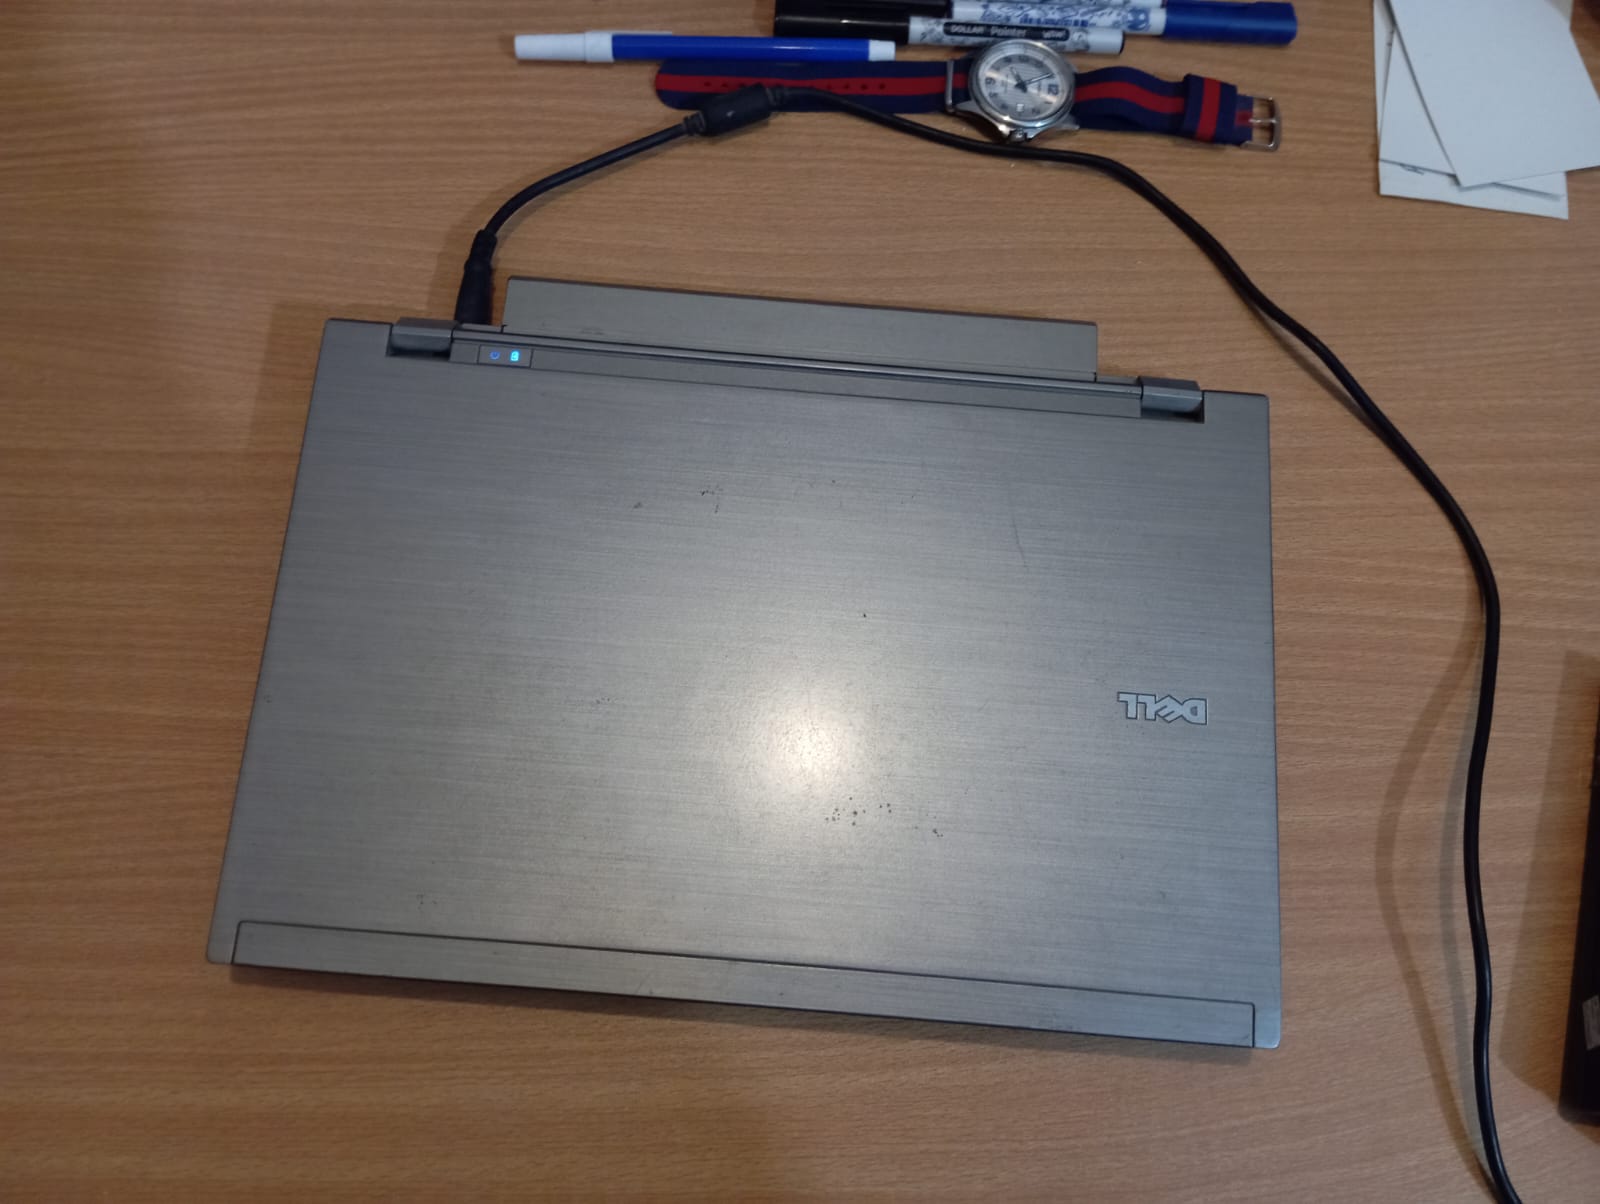
But I didn’t want to spend a lot of money for another computer. Luckily, while cleaning my room, I found my dad’s old laptop. The humble Dell Latitude E4310.
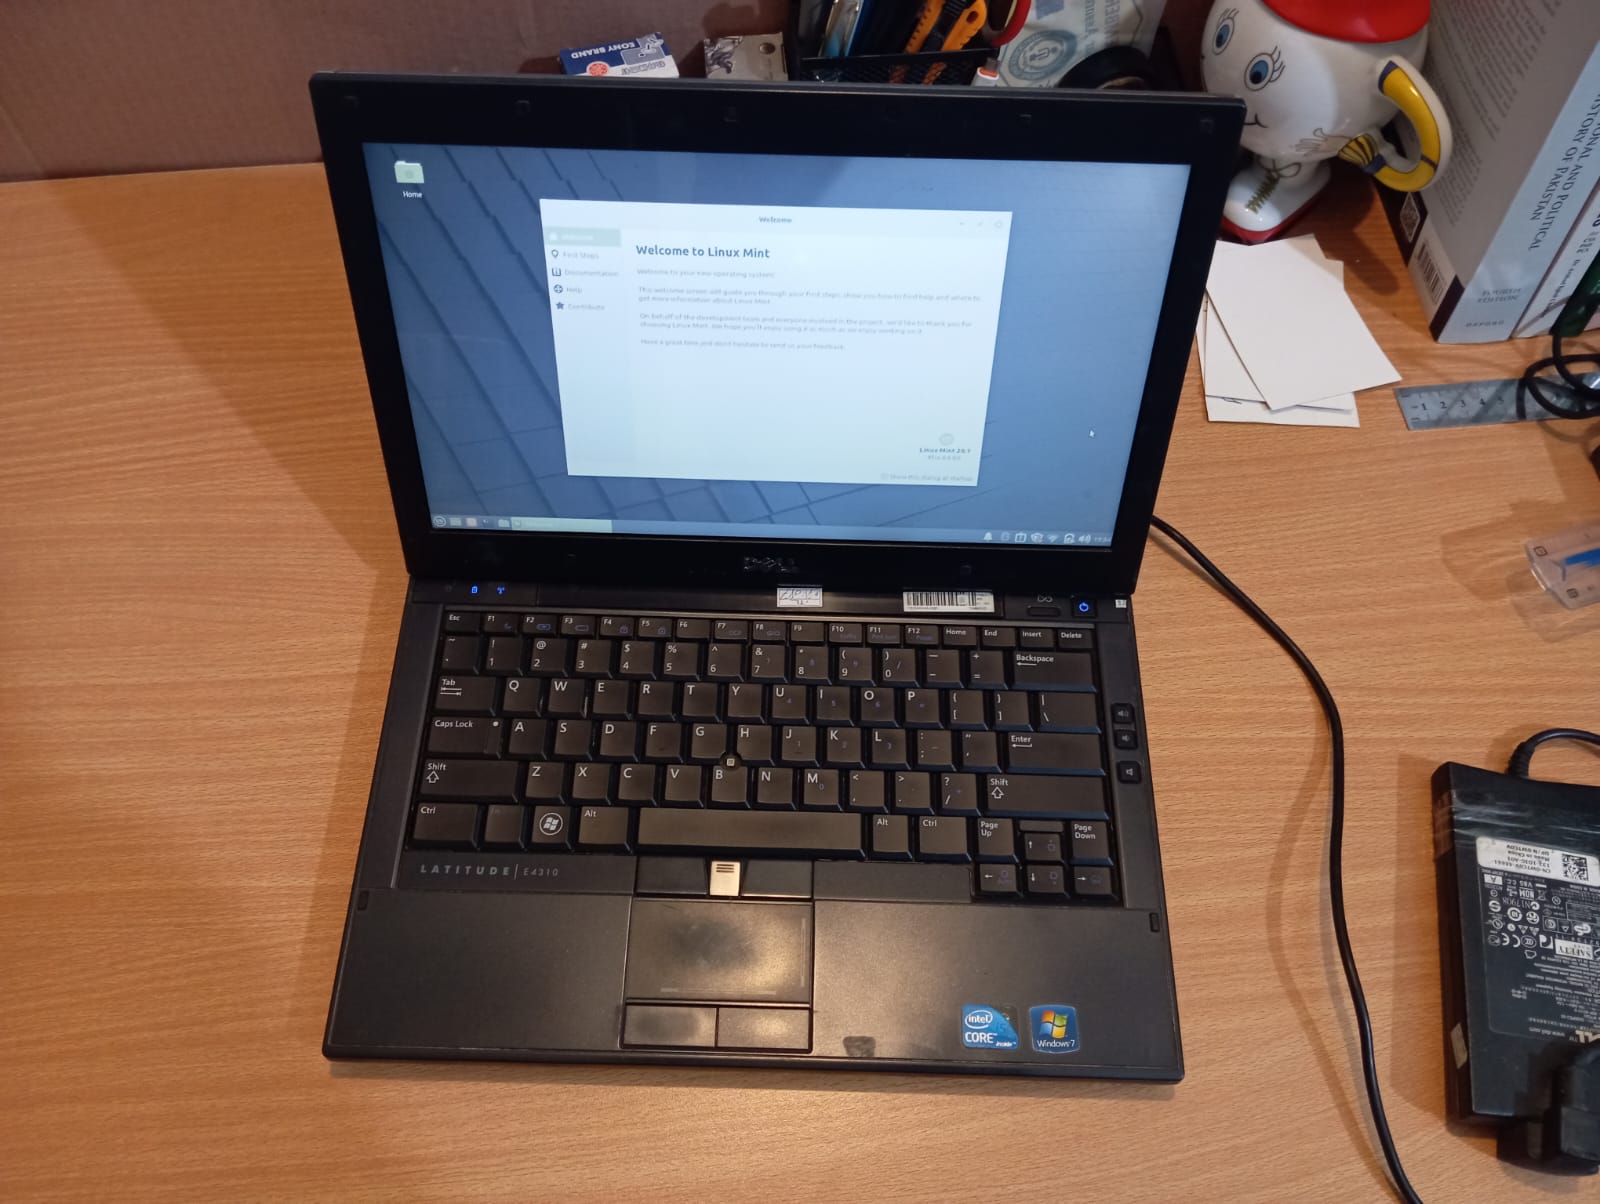
And it already had Linux Mint installed!
So I decided to use this old laptop as my entry into the homelab movement.
Since I am going to be using this as a server, I need to be able to remotely connect to it from any device. So the first thing I did was open a terminal on it and install the SSH server:
sudo apt install openssh-server -y
sudo systemctl status ssh
It said Active: active (running).
Next, I checked for the internal network IP address of the Mint laptop to connect to by typing:
ip a
It looked like this:

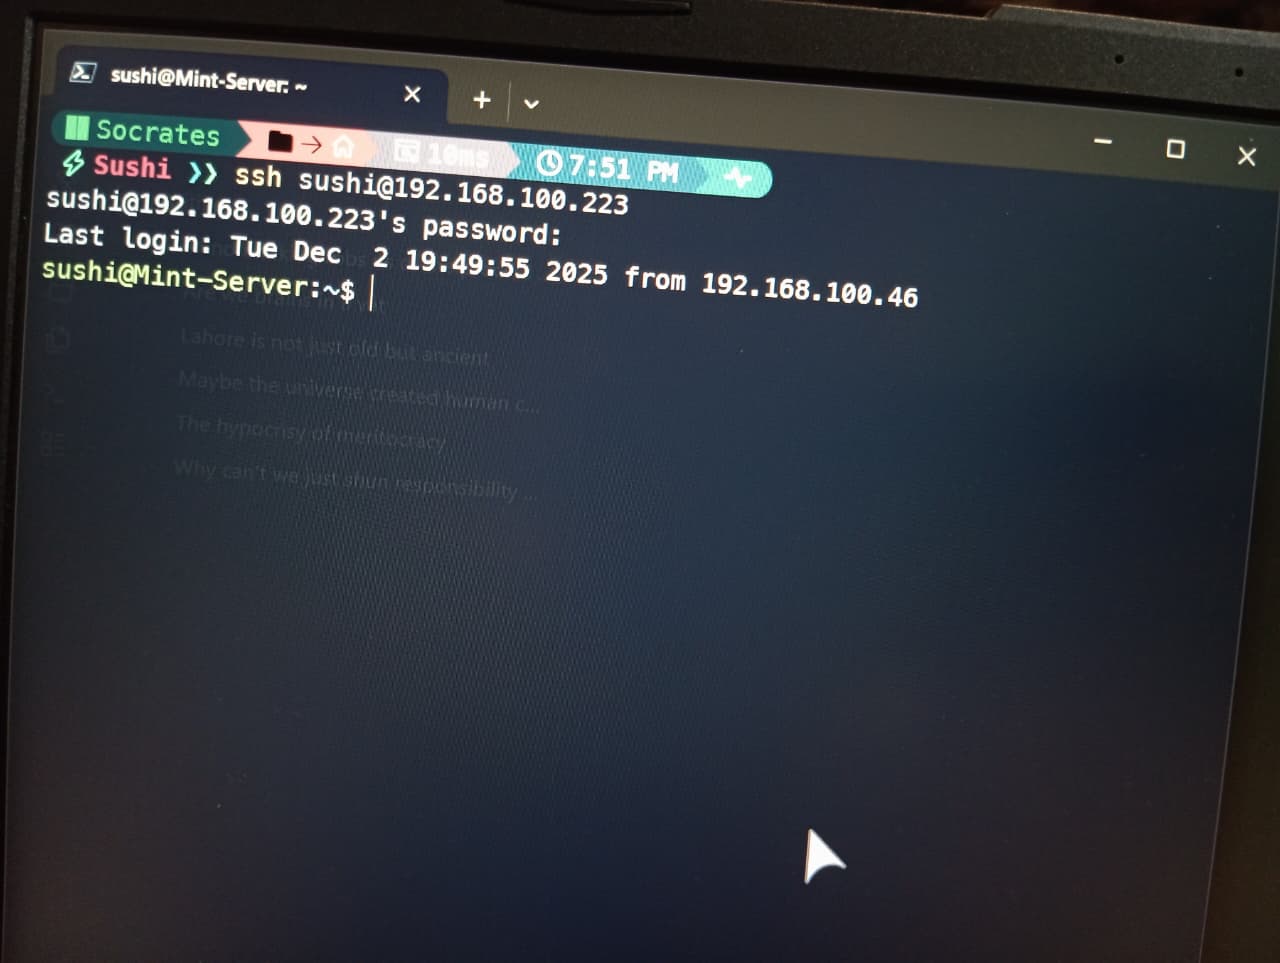
So I used that IP with the username to SSH into it using my personal Windows laptop.
From here I shutdown the desktop to save resources:
sudo systemctl stop lightdm.service
I can start it again if I want to by typing:
sudo systemctl start lightdm.service
Now, this laptop shipped with a fat power brick, which means it could draw anywhere from 65W to 90W depending on the load. And I didn’t want it ever using that much power. So I applied some power-saving features to this.
So I first installed a utility that manages the CPU frequency settings at boot time called cpufrequtils
sudo apt update sudo apt install cpufrequtils
Then I edited the cpufrequtils configuration file to set the default governor to powersave:
echo 'GOVERNOR="powersave"' | sudo tee /etc/default/cpufrequtils
Then I disabled the default service that forces the ondemand governor on startup:
sudo systemctl disable ondemand
I also installed tlp which is a Linux power management tool:
sudo apt install tlp tlp-rdw
sudo tlp start
tlp is very effective on older laptops and requires minimal configuration.
Hopefully, by doing all this, the power draw of the laptop will be reduced to about 10W to 15W.
Then I disabled the sleep, suspend, and shutdown-on-idle functions. I did this by editing the systemd-logind configuration.
sudo nano /etc/systemd/logind.conf
I changed these three parameters to ignore:
HandleLidSwitch=ignore
IdleAction=ignore
IdleActionSec=0
Then I saved the settings, and restarted the device to apply the changes:
sudo systemctl restart systemd-logind.service
The laptop also comes with AC Recovery and LAN/WLAN Wakeup. I switched these on in the BIOS so it automatically starts up after a power outage.
For now, that’s all I’ve done. I’ll update this note as I keep adding stuff and setting up this laptop as my home lab server.